Dive in and explore the exciting world of crafts with us—your child's next adventure starts here!
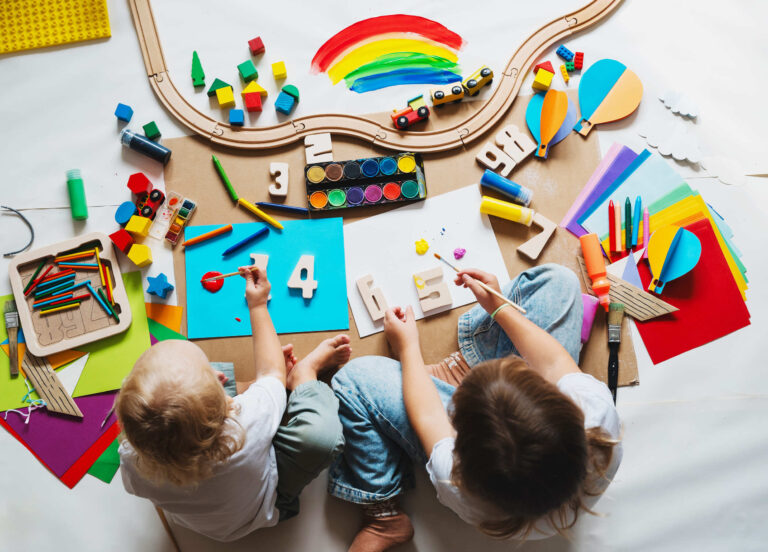
Development of Fine Motor Skills
These activities help improve hand-eye coordination and manual dexterity.
Stimulation of Creativity
This fosters imagination and innovative thinking from an early age.


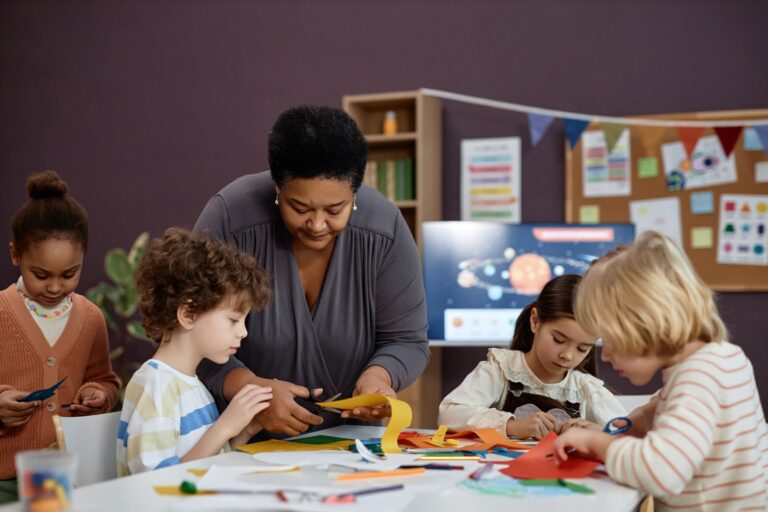
crafts for children’s birthdays
Find creative crafts for children’s birthdays that will make any party a hit. From simple paper crafts to interactive DIY projects, we offer a range of ideas to keep kids entertained and engaged, creating memories they’ll cherish.
- Stimulates creativity
- Promotes teamwork
- Provides educational entertainment
- Offers a tangible memory
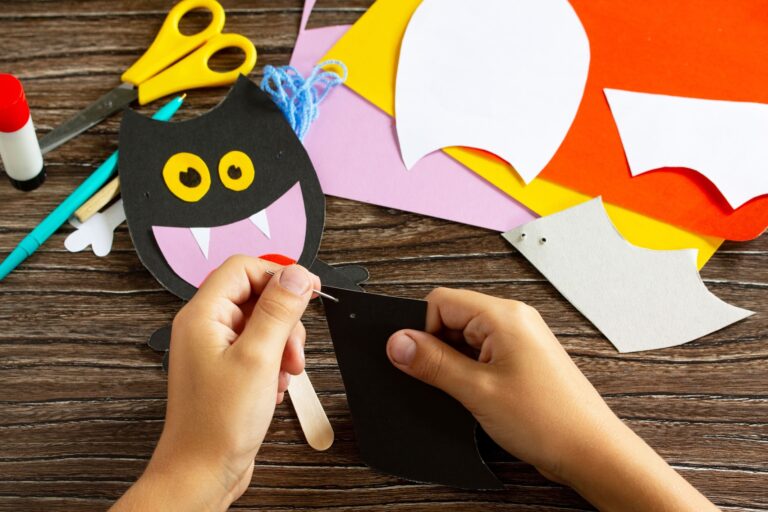
crafts for children with eva rubber
Discover a world of crafts for children with EVA rubber! This versatile material is perfect for creating vibrant and fun projects. From simple shapes to intricate designs, EVA rubber crafts are great for kids of all ages. Dive into our collection of ideas and start crafting today!
crafts for children with cardboard
Creative ideas
Unlock the creative potential of cardboard with crafts for children! From castles to robots, cardboard offers endless possibilities for imaginative projects. Our collection of ideas will inspire kids to build, paint, and play with their cardboard creations. Explore now and start your next adventure in cardboard crafting!